
dev.
Thoughts, stories and ideas.
Coding
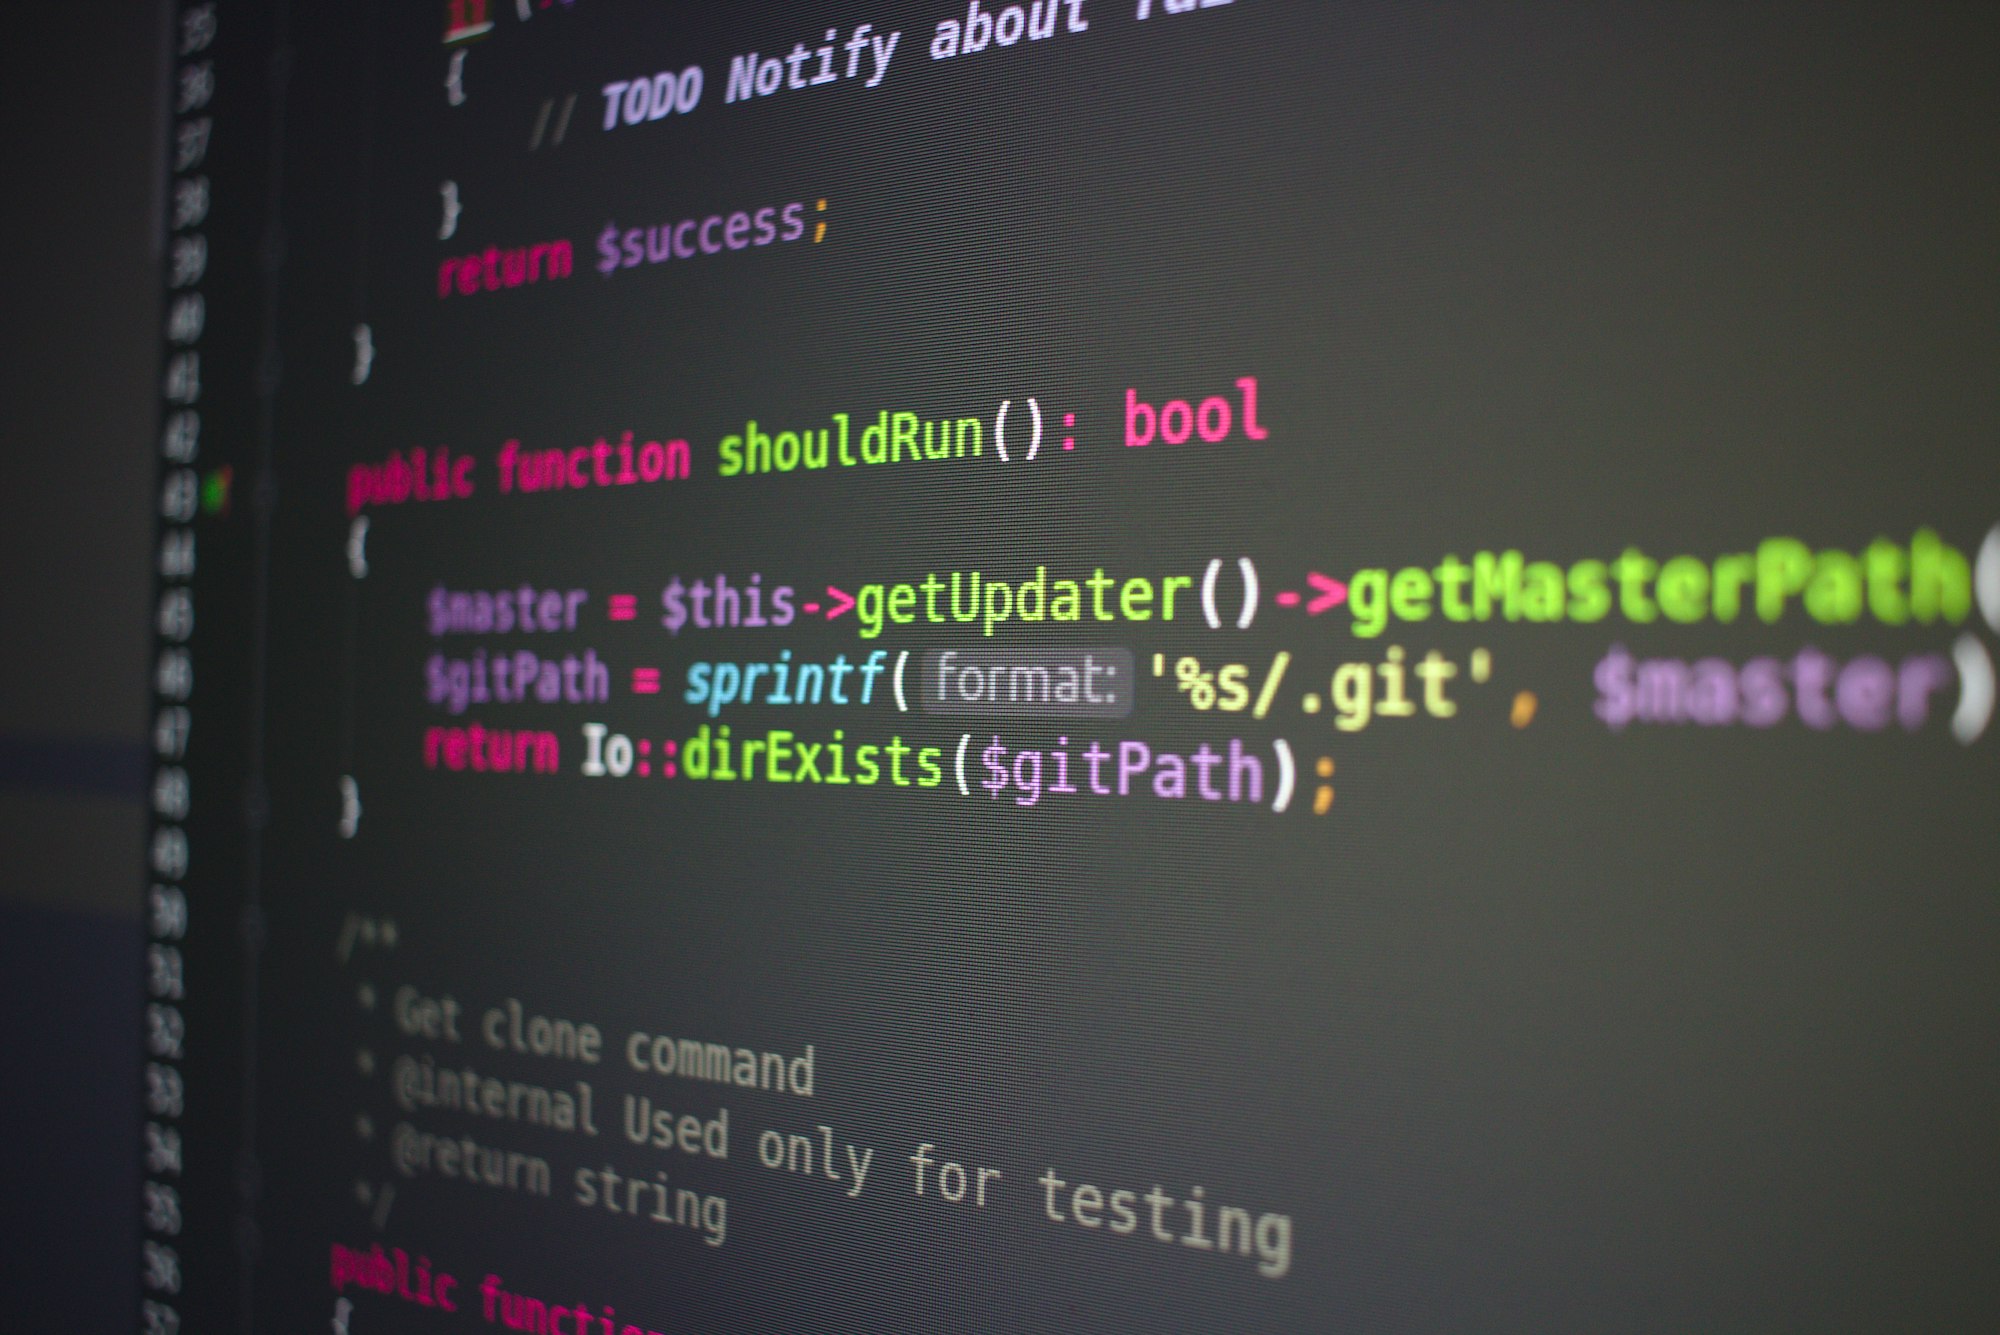
Set up a development environment with multiple PHP versions using Docker
Since I've moved away from PHP I did not work on it much. Lately, however, I had to touch an old project (using PHP 5.6) and a new one in 7.4. I got a new Apple laptop (an M1) and I had no intention to spend time installing different v
Updates
Sweet New Home
My old blog The Developer Inside has a new home and a new name.
Coding
Swift - Using common SQLite database as persistent container.
Using common SQLite database as persistent container with Xcode 8.3 and Swift 3.1. lazy var persistentContainer: NSPersistentContainer = { let sqlitePath = Bundle.main.url(forResource: "DATABASE_NAME", withExtension:
U.S.A. Road Trip 2012

Chicago
premessa Questo è un diario del mio viaggio di 3 settimane in USA. Prima di Chicago Vista la distanza che separava le ultime 3 tappe, ho deciso da qui in poi di usare l’aereo, American Airlines per essere precisi. Non male e non costoso e
U.S.A. Road Trip 2012

Washington, DC
premessa Questo è un diario del mio viaggio di 3 settimane in USA. Prima di Washington, DC Questa volta ho deciso di usare il treno, dalla stazione di South Station di Boston alla Union Station di Washington. Il biglietto è stato particola
U.S.A. Road Trip 2012

Boston
premessa Questo è un diario del mio viaggio di 3 settimane in USA. Prima di Boston Per arrivare a Boston, Massachusetts ho usato l’autobus. Di per se è una scelta economica, il biglietto è costato 17$ e in confronto al costo del treno ( 16
U.S.A. Road Trip 2012

New York City
premessa Questo è un diario del mio viaggio di 3 settimane in USA. Prima di New York Io sono una persona meticolosa, tendo a programmare in anticipo le cose che possono portare a ritardi con risultati disastrosi come per un volo. Avendo il
CSS

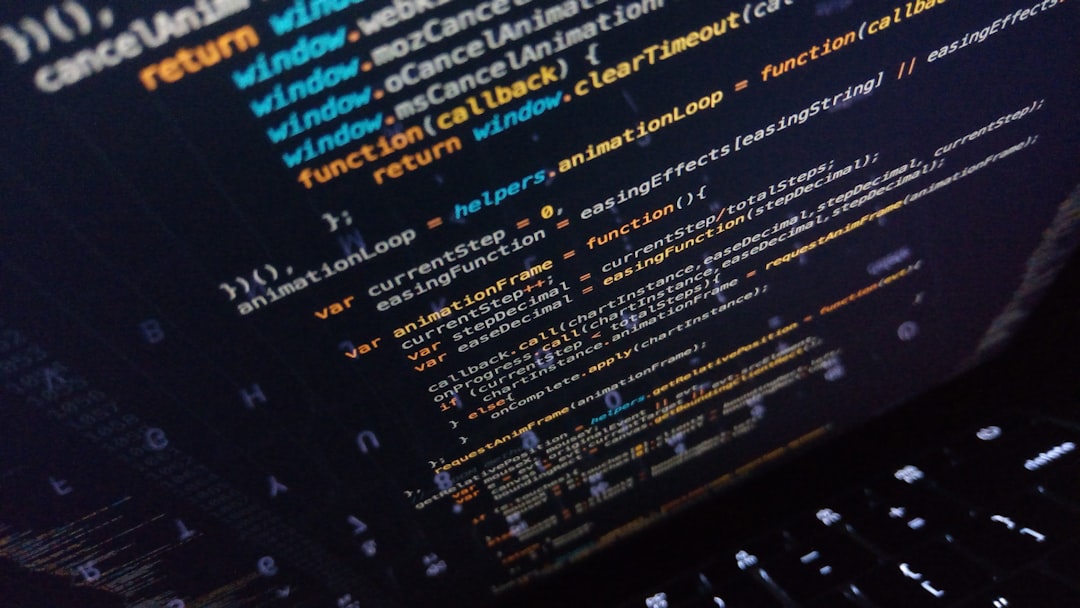
Google's Wave Doodle in CSS3
I found a good article on Sitepoint [http://www.sitepoint.com/googles-doodle-and-why-it-hertz-my-brain/] about Google’s Wave Doodle. On Sitepoint Alex Walker made a new version in jquery, more fluid than original Google version in GIF. He e
Tweaks

Attivare la nuova Google bar
Google sta sperimentando da un po’ una nuova barra, unificando anche la grafica dei servizi. La grafica temporanea era il logo Google convertito in dropdown dei servizi, con sempre sul lato sinistro il vostro account e google+. [![](GHOST_